Creating a Repository
Steps
The basic idea is to create a repo on the remote server. Then we create some content for the repository locally and finally we want to sync this content to the remote server.
Create Project on GitLab
First of all you want to create a repository on GitLab/GitHub. Therefore, go to the URL of your GitLab Server, i.e. https://git.tu-berlin.de/kiwi-git-workshops. Then you click on New Project and select Create blank project. Afterwards you may choose a name for your repository
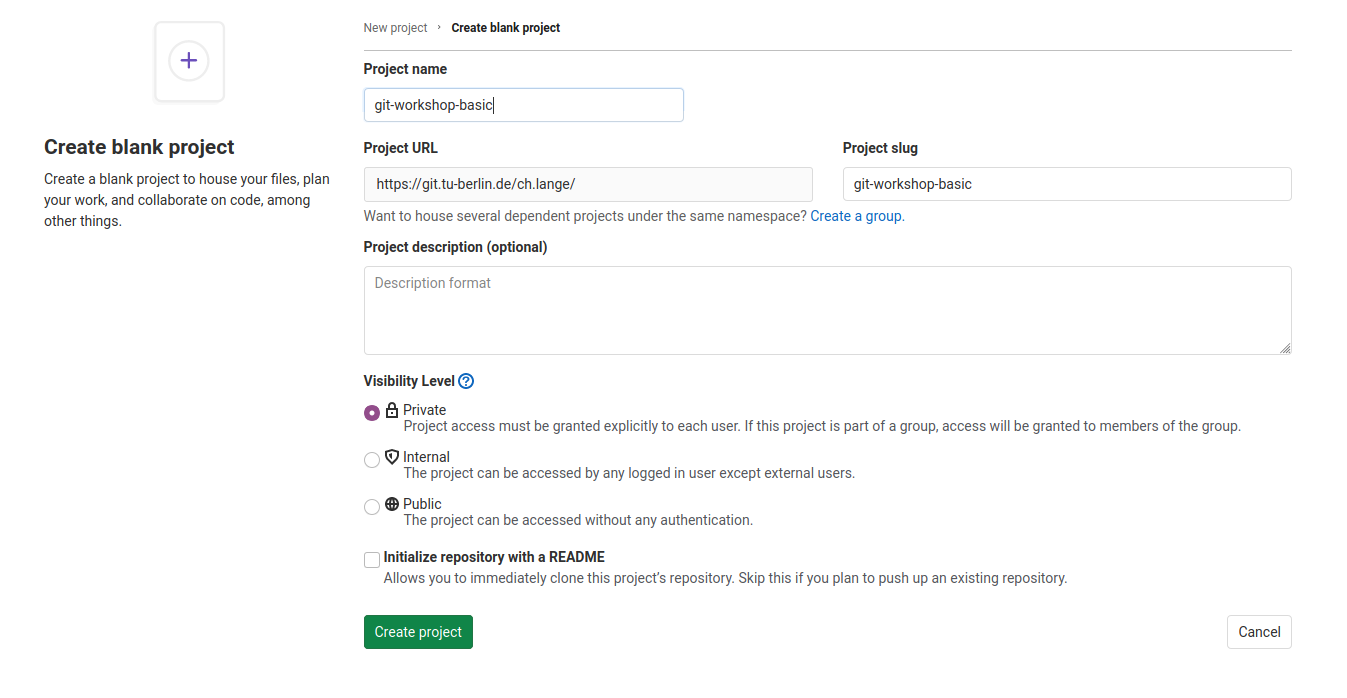
and click Create project. Now we created an empty project on the remote server.
Use Project Template
Now we create a folder with some code on our local machine. Therefore we use a template via the following steps:
Open a terminal
Install the python package cookiecutter
pip3 install cookiecutter
Use cd to navigate to the directory that you want to start a repository.
cd path/to/your/git-projects
Create your python package with
cookiecutter https://github.com/spirousschuh/cookiecutter-git-workshop-testing
Specify the template parameter. Now you will see
author_name [Josephine Doe]:
This is a question. “What should be the name of the author?” and requires your input. You can either press Enter, then the author_name is set to the default option Josephine Doe. Or you can enter another name.
Answer the questions that will be prompted to you or press Enter to choose the default value. You do not need to reveal your real data, as it is a toy project anyway. But you could choose answers like these:

Pay attention at the third question. The answer to that question will be the name of the folder where you can find your package later.
Now we created a folder of code locally.
Sync Local and Remote Repository
In this section we will syncronize our local folder with the remote git server. Right know they do not know about each other.
Go the folder that you just created in the last step
cd my_image_package
The name of the folder corresponds to your answer to the question
package_name [git_workshop_testing]: my_image_package
Go back to your browser and open the remote server url (https://git.tu-berlin.de). Then go to the project that you just created in the section Create Project on GitLab. As it is an empty project the landing page should look like this:

Follow the step that are displayed under Git global setup (first red box) one by one, i.e. you copy each line to your terminal and press Enter.
Follow the steps you find in the section Push an existing folder (second red box). You need to replace cd existing_folder with the project-name you chose in step 6. In case you forgot the package name you can check it with ls -l which displays the content of the current directory. (if you get an error like error: src refspec main does not match any you need to replace main with master)
Install your new package in editable mode
pip install -e .
Go to your project webpage https://git.tu-berlin.de/your_name/your_project. When you see a basic README.md file you succeeded.